Moon
How to Photograph a Huge Moon Behind a Building, Tree or Landmark
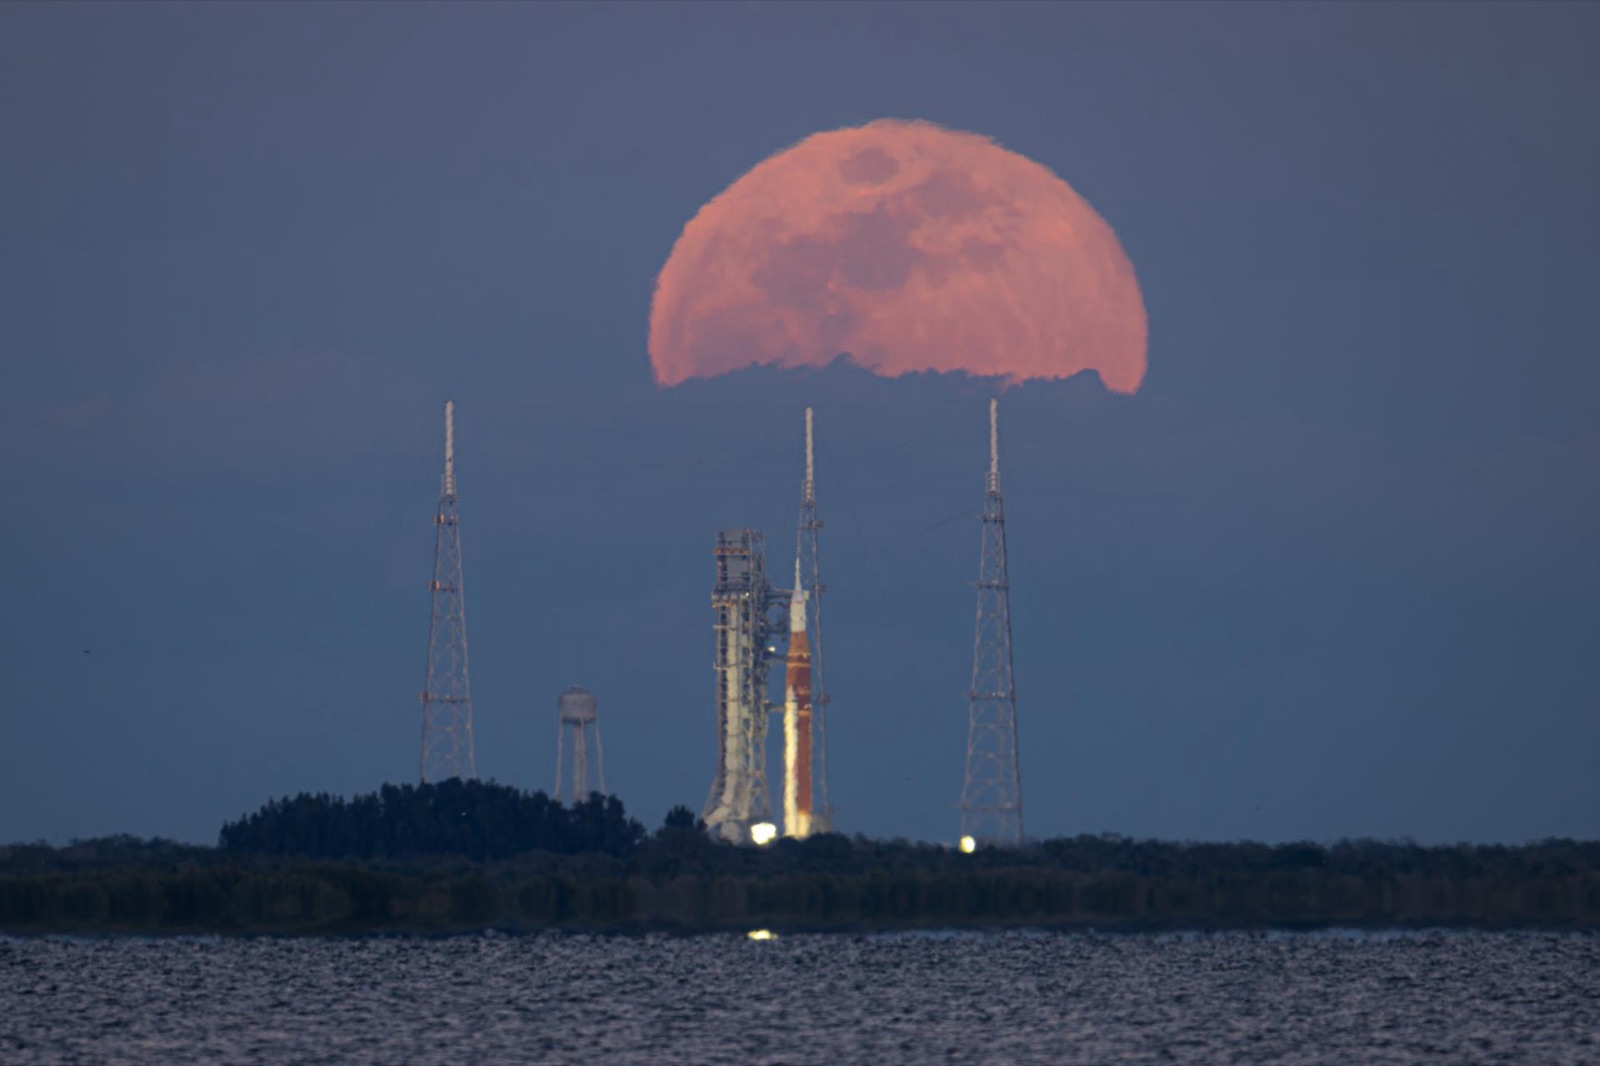
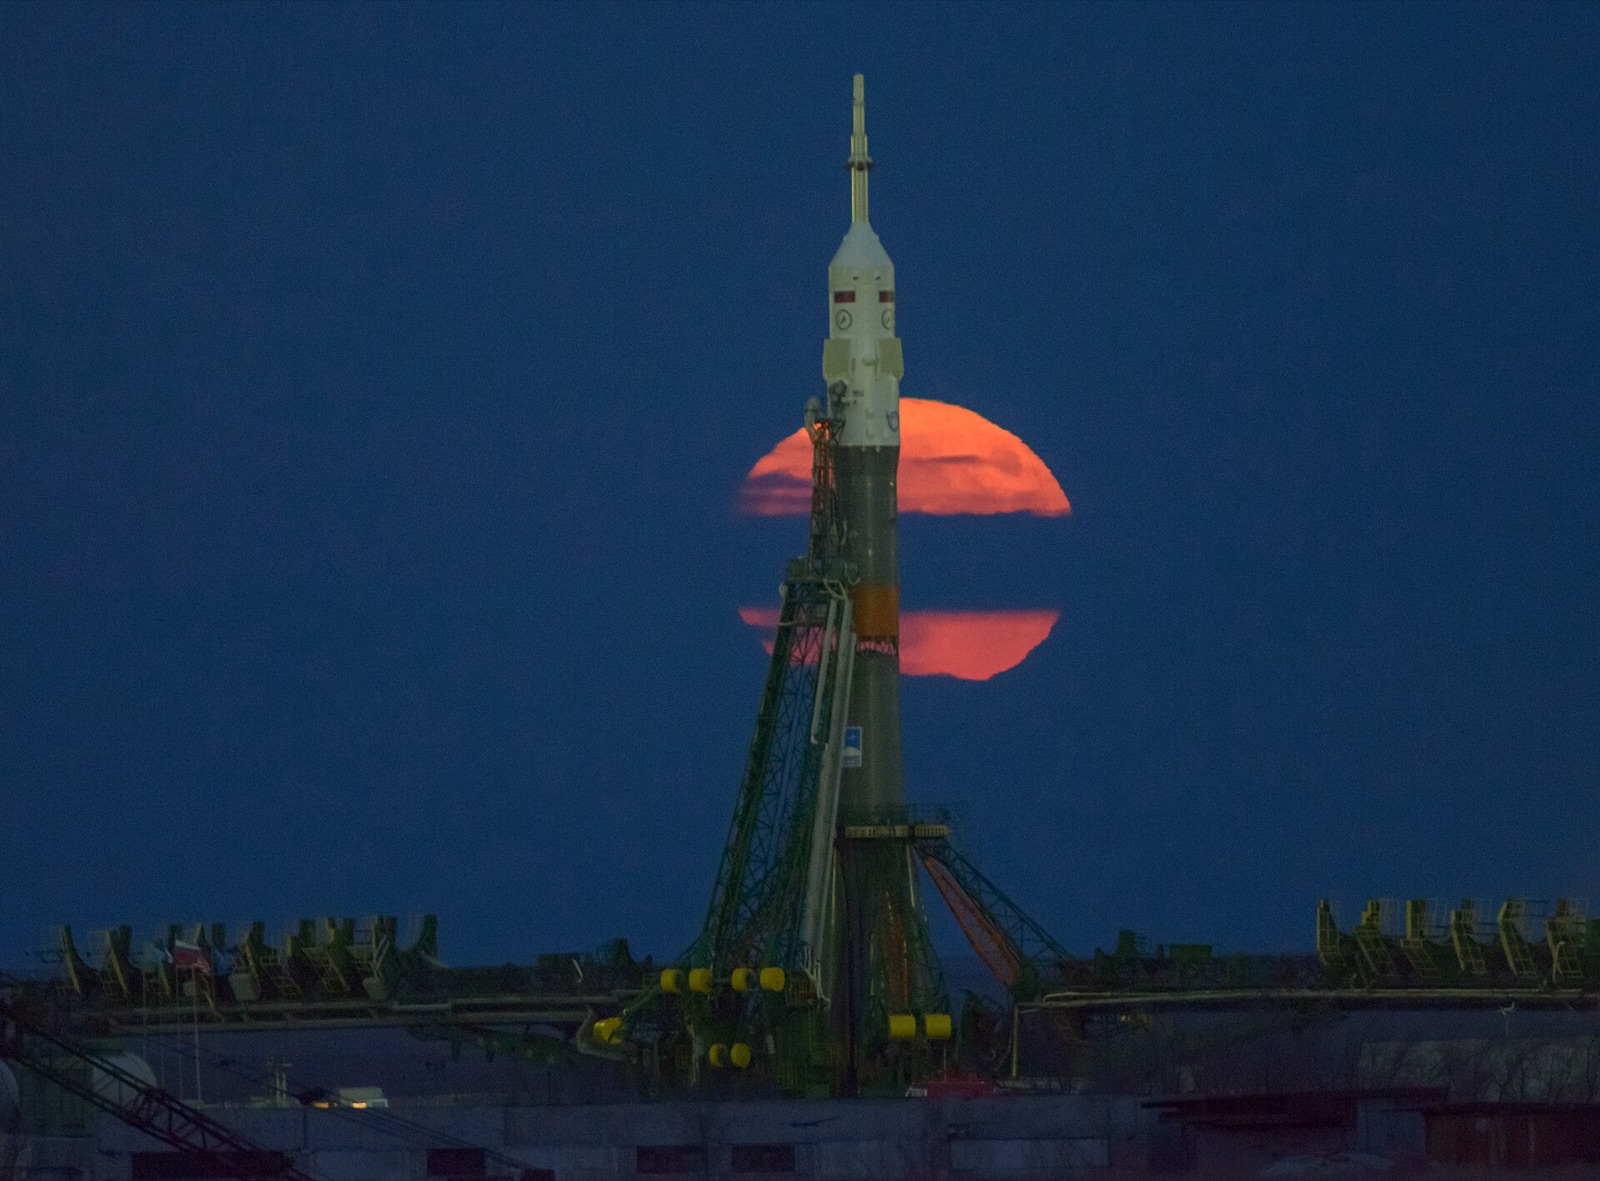
The photographs where the Moon looks enormous behind a skyline, a lighthouse or a lone tree aren't composites, and they aren't luck. They come from standing in the right place. The Moon is always the same size in the sky, about half a degree across, so the only way to make it look huge next to something is to photograph that thing from a very long way off with a very long lens. So how to photograph a huge Moon comes down to picking the distance, the date and the minute so the Moon rises exactly where you need it. This guide shows you how to work out each one.
At a glance
- The Moon spans about 46 ft of subject for every mile you stand from it. For a Moon as tall as a 300 ft tower, stand ~6.5 miles away.
- Lens: 300–600 mm, with a teleconverter for the biggest Moons. A crop sensor makes everything 1.5× longer.
- When: the full Moon rises around sunset. The day before full it rises earlier, with more light on the landscape. You can balance the exposure in the ±15-minute window around sunset.
- Settings: manual, ISO 100–400, f/8–11, 1/125–1/500 s for a bright Moon. Never slower than about 1 s at long focal lengths, because the Moon moves its own width every two minutes.
- Plan it: find the moonrise azimuth for your date, then find the spot from which that azimuth runs through your landmark.
Why the Moon looks huge in these photos: distance, not "compression"
Photographers talk about telephoto "compression", but a long lens doesn't change how big the Moon looks next to the building. Only your distance changes that. The Moon's angular diameter is fixed at roughly 0.5°. A building looks smaller the farther back you stand. Stand far enough back and the building takes up as little of the sky as the Moon does. A long lens then magnifies both together, and the Moon looks as big as the building.
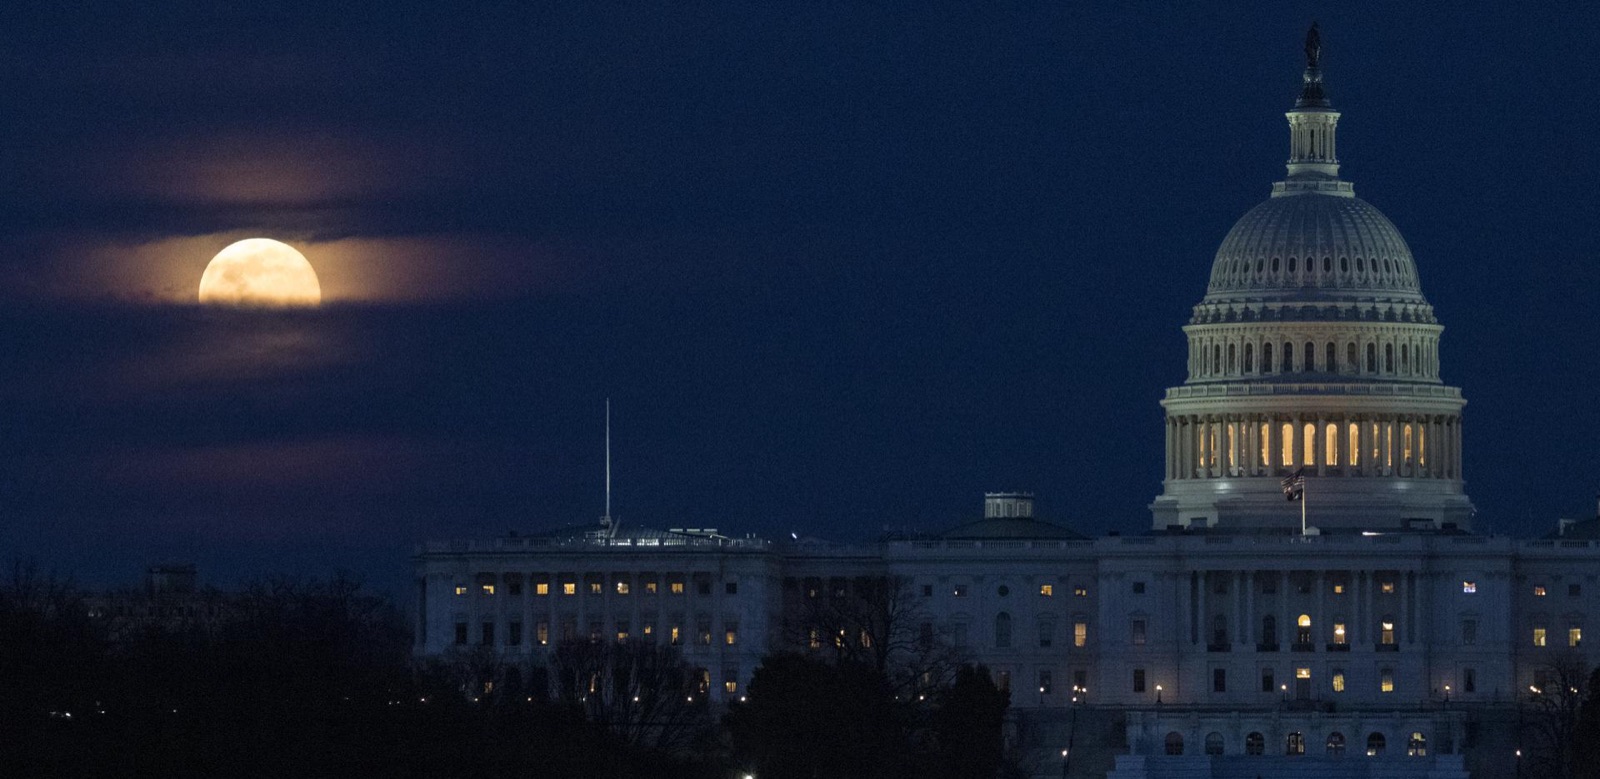
A supermoon doesn't help much. The closest full Moons are only about 7% larger than an average one, and 14% larger than the most distant "micromoon". What makes the Moon look big is your distance from the landmark, not the Moon's distance from Earth. (There's more on what a supermoon is and isn't in the supermoon guide.)
How far away to stand: 46 feet per mile
The Moon is 0.5° across, so at the landmark it covers tan(0.5°) × distance ≈ 0.0087 × distance. Call it 50 ft per mile if you're working it out in your head. The table uses the exact figure.
| Your distance from the landmark | Moon's apparent size at the landmark | Good for |
|---|---|---|
| 0.3 mi | 14 ft | A person, a statue, a small tree |
| 0.6 mi | 28 ft | A two-storey house, a lighthouse lantern |
| 1.2 mi | 55 ft | A church tower, a wind turbine hub |
| 3 mi | 138 ft | A mid-rise building, a big-wheel |
| 6 mi | 276 ft | A skyscraper, a cathedral |
| 12 mi | 553 ft | A whole tower. This is the classic skyline shot |
| 25 mi | 1,150 ft | The tallest buildings on Earth, which look small next to the Moon |
Decide how big you want the Moon next to the subject and read off the distance. Then pick the lens. The Moon's image on the sensor is focal length ÷ 109. At 500 mm that's 4.6 mm on a 36 mm-wide full-frame sensor, or 13% of the frame width. At 800 mm it's 7.3 mm (20%), and at 1200 mm it's 11 mm (31%). Go much longer and the Moon won't fit in the frame.
In the Still Dark planner, pick the Moon chip and turn on Camera. With your body and lens set, the map labels how big the Moon will be at the subject ("Moon 80 ft wide here") and what fraction of the frame width it fills. Drag the pin until the number is the one you want.
Choosing the landmark and the shooting spot
You need a clear line of sight from a long way off, which rules out most street-level views. Look for landmarks on a ridge, on a coast, across a bay or a valley, or ones that are just tall. Then work backwards. From the landmark, draw the direction the Moon will rise (next section), then follow that line away from it to the distance that gives the Moon size you want. Anywhere along that line with a clear view will do: a beach, a bridge, the top deck of a car park, a hilltop.
Check the sightline before you commit. Street-level imagery and satellite view will show whether a hill, some trees or another building is in the way. A daytime visit is better, and most people skip it. The planner's 3D terrain view shows what the horizon hides from a given spot.
Planning the moonrise alignment
The Moon doesn't rise due east. Its rising azimuth moves roughly 30° either side of east over the month at mid-latitudes, and the whole range shifts through the year. So on some dates it rises exactly behind your landmark from your spot, and on most dates it doesn't.
- Find the bearing from your shooting spot to the landmark. The planner draws it as a line when you drop a pin on the subject.
- Find the dates when the Moon's rising or setting azimuth matches that bearing to within about a degree. The Moon path on the map, or the Find tool, does the search. Step through the dates and watch the path move.
- Check the altitude. A tower 276 ft tall at 6 miles subtends 0.5°, the same as the Moon. You want the Moon a little above the horizon, 1° to 4°, so it clears the haze and sits on or just above the landmark. That means catching it a few minutes after it rises, when it has climbed ~2° and drifted slightly to the right (northern hemisphere).
- Verify the bearing on site with a real compass. Magnetic declination and phone-compass errors are big enough to put the Moon two towers over.
The same method works for moonset with a landmark to the west, and for the Sun. Never look at the Sun through a long lens without a proper solar filter.
When to shoot: the fifteen-minute window around sunset
A full Moon rises at about the time the Sun sets. That makes the exposure hard, because the Moon is bright and the landscape is about to go dark. One exposure can hold detail in the Moon and light on the landmark for roughly fifteen minutes either side of sunset. Before that the Moon is washed out in a bright sky. After that the ground is black.
There are two ways to get more time. Shoot the day before full, when the Moon rises 30–50 minutes before sunset, so the landscape is still lit and the sky is a deeper blue. Or shoot the day after full for moonset in the morning, when the Moon sets in the west shortly after sunrise and the light is balanced the same way. You can look up when each phase rises in Moon phases for photographers.
The Moon also moves fast. The sky turns 15° an hour, so the Moon moves its own diameter every two minutes and crosses an 1800 mm frame in under three. Be set up, focused and framed before it appears, and shoot continuously. On a good night you'll get about a dozen frames while it's lined up.
What gear you actually need
- Lens: 200–600 mm is the most useful range, and 100–400 mm with a 1.4× or 2× teleconverter also works. A crop-sensor body effectively adds 1.5–1.6×.
- Tripod and head: long lenses at slow twilight shutter speeds need a solid tripod, a lens collar, and either a remote release or the 2-second timer. Turn stabilisation off on the tripod unless your lens is designed for it.
- Two bodies, or a second lens: once you have the giant-Moon frame, a mid-telephoto (70–200 mm) shot that shows the landmark and its surroundings is often the better picture.
- A real compass and binoculars for checking the alignment and the sightline.
How to photograph a huge Moon behind a landmark: camera settings
| Situation | Aperture | ISO | Shutter | Notes |
|---|---|---|---|---|
| Full Moon high in a dark sky | f/11 | 100 | 1/125 s | The "Looney 11" starting point: f/11 at 1/ISO. |
| Moon just risen, bright twilight | f/8–f/11 | 200–400 | 1/125–1/500 s | Expose for the Moon. The sky will be bright and blue. |
| Moon and landmark balanced at dusk | f/8–f/11 | 400–800 | 1/8–1/2 s | This is the shot for the window around sunset. Bracket ±1 stop. |
| Deep twilight, landmark lit | f/8 | 640–1600 | 0.5–1 s | Longest usable shutter. The Moon blurs beyond ~1 s at 600 mm. |
- Manual everything. Aperture, shutter, ISO, white balance (around 4000–5000 K for dusk) and focus.
- Focus on the Moon's limb or on the landmark. At 600 mm f/11 the hyperfocal distance is about two-thirds of a mile, so anything a few miles away and the Moon are both sharp. Use magnified live view, then turn autofocus off. Tape the focus ring so it can't move.
- Meter for the Moon, then open up as twilight gets darker. The Moon's surface is roughly as bright as a sunlit grey rock, so it needs close to a daylight exposure even at night.
- Bracket. Three frames ±1 stop each time gives you frames to blend if the sensor can't hold the whole range in one.
- Shoot RAW, continuous drive, and keep shooting through the alignment.
.jpg)
In the field: a timeline
- T−60 min: arrive, find the exact spot from the plan, set up, level the tripod, frame the landmark.
- T−30 min: check the bearing with the compass, take test exposures on the landmark, and confirm the horizon is clear where the Moon will appear.
- T−10 min: final focus, drive mode on, remote in hand. Watch the horizon slightly left of the predicted spot (in the northern hemisphere the Moon moves up and to the right).
- Moonrise: it often shows up dim and orange through the haze, and later than the prediction if there's a hill in the way. Shoot as it clears, adjusting shutter as it brightens.
- T+5 min: the alignment is over. Reframe for the wider shot and watch the rest of the moonrise.
Common mistakes
- Wrong side. The Moon drifts sideways as it rises. If you forget that, you'll frame it so it moves away from the landmark instead of towards it.
- Haze. The first degree above the horizon is often hazy, so plan for the Moon to be 2–4° up when it lines up.
- Autofocus hunting on a low-contrast Moon just as it lines up. Focus early, then switch to manual.
- Too slow a shutter. The Moon blurs past 1 s at long focal lengths, so raise ISO instead.
- Trusting the phone compass. Check the bearing with a real one.
- No backup date. One cloud on the horizon can block the shot. The day before and the day after full are nearly as good, so plan all three.
FAQ
How far away do you need to be to photograph the Moon bigger than a building?
About 115 feet of distance per foot of building height. For a 150 ft building you need to be ~3.3 miles away, and for a 650 ft tower, ~14 miles. Then use a lens long enough to fill the frame, usually 500 mm or more.
Does a supermoon make a real difference to a huge Moon photo?
Only about 7% over an average full Moon. Your distance from the landmark matters a hundred times more. A supermoon is still a good reason to plan a shoot.
Can I photograph a huge Moon with a phone?
Not the giant-Moon look, which needs 400 mm and up. A phone's telephoto camera (roughly 120 mm equivalent at best) makes the Moon about 1 mm on the sensor, which is a small disc. You can still get a good shot of the Moon near a landmark.
Why was the Moon a few minutes late, or a few degrees off?
If it was late, a hill or building on the horizon delayed the visible rise past the sea-level prediction. If it was off to one side, the compass bearing from your spot was probably wrong. Check it with a real compass, and make sure the planner's observer pin is exactly where you're standing.
Sources and further reading
- Fred Espenak, MrEclipse — Moon image size = focal length ÷ 109; sky motion 15°/hour. mreclipse.com
- Daren Cox — The Ultimate Guide to Photographing the Moon with a Foreground (the 10 m-per-km rule of thumb, supermoon size).
- Gary Hart, Sony Alpha Universe — How To Take Big Moon Photos All In Camera (the ±15-minute window, 1/ISO at f/16 baseline).
- Sony Alpha Universe — the Moon behind One World Trade from 25 miles (600 mm, 0.6 s, f/8, ISO 640).
- PetaPixel — giant-Moon skyline photographs (18 miles, 600 mm, shutter ≤1 s).