Star trails
How to Photograph Star Trails: Settings, Stacking and Planning
Star trails photography is the one kind of night-sky picture where you want the Earth's rotation to show. In every other astro shot you're trying to stop it blurring the stars. Leave the shutter open, or stack a few hundred short frames, and the stars draw arcs across the sky. Most people now stack, because it's the easier method. Each frame is an ordinary 30-second exposure, and software combines them afterwards. This guide covers the framing that decides what shape the trails make, the settings, the two capture methods, and the planning, so the Moon or the weather doesn't waste four hours of your night.
At a glance
- Settings (stacking): 30–60 s per frame, ISO 800–1600, f/2.8, interval one second longer than the shutter, 100–500 frames over 2–4 hours.
- Circles: aim at the celestial pole, Polaris in the north, near the Southern Cross in the south. Arcs: aim east or west.
- Moon: half or less, or below the horizon. A little moonlight helps light the foreground.
- Power: a long night needs 4–6 batteries or USB power, and a lens warmer.
- Stack: StarStaX (free, Mac/Windows/Linux), Sequator (Windows) or Photoshop's Lighten blend.
What star trails photography actually records
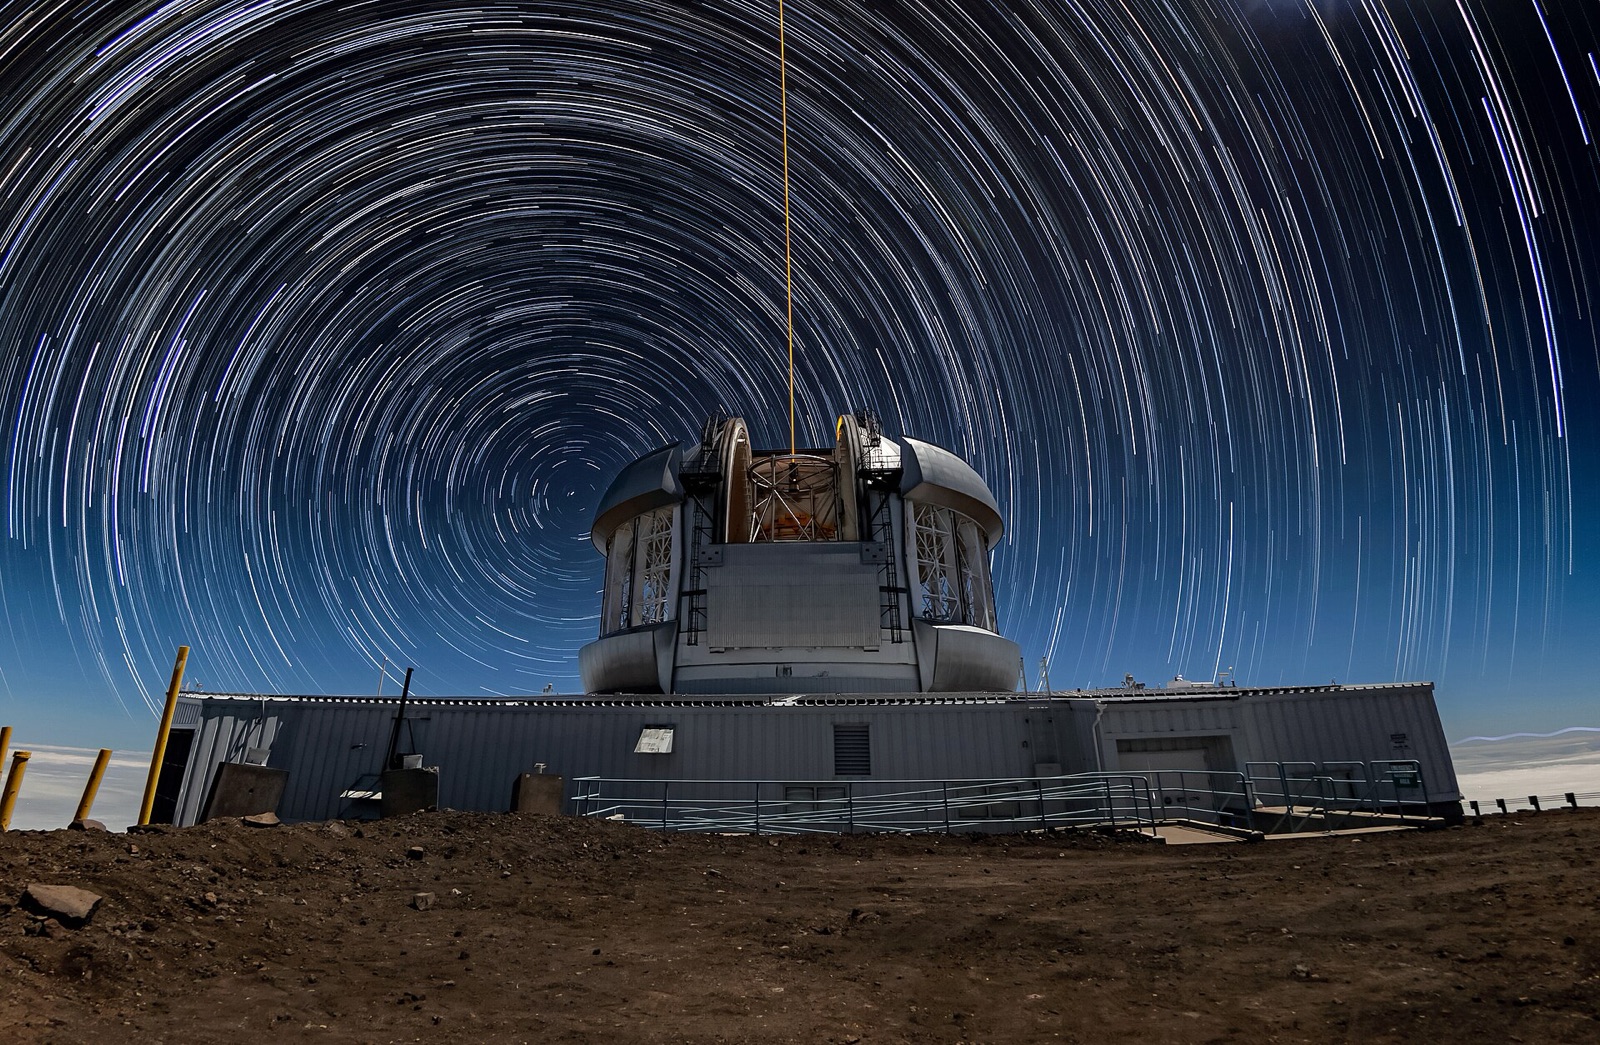
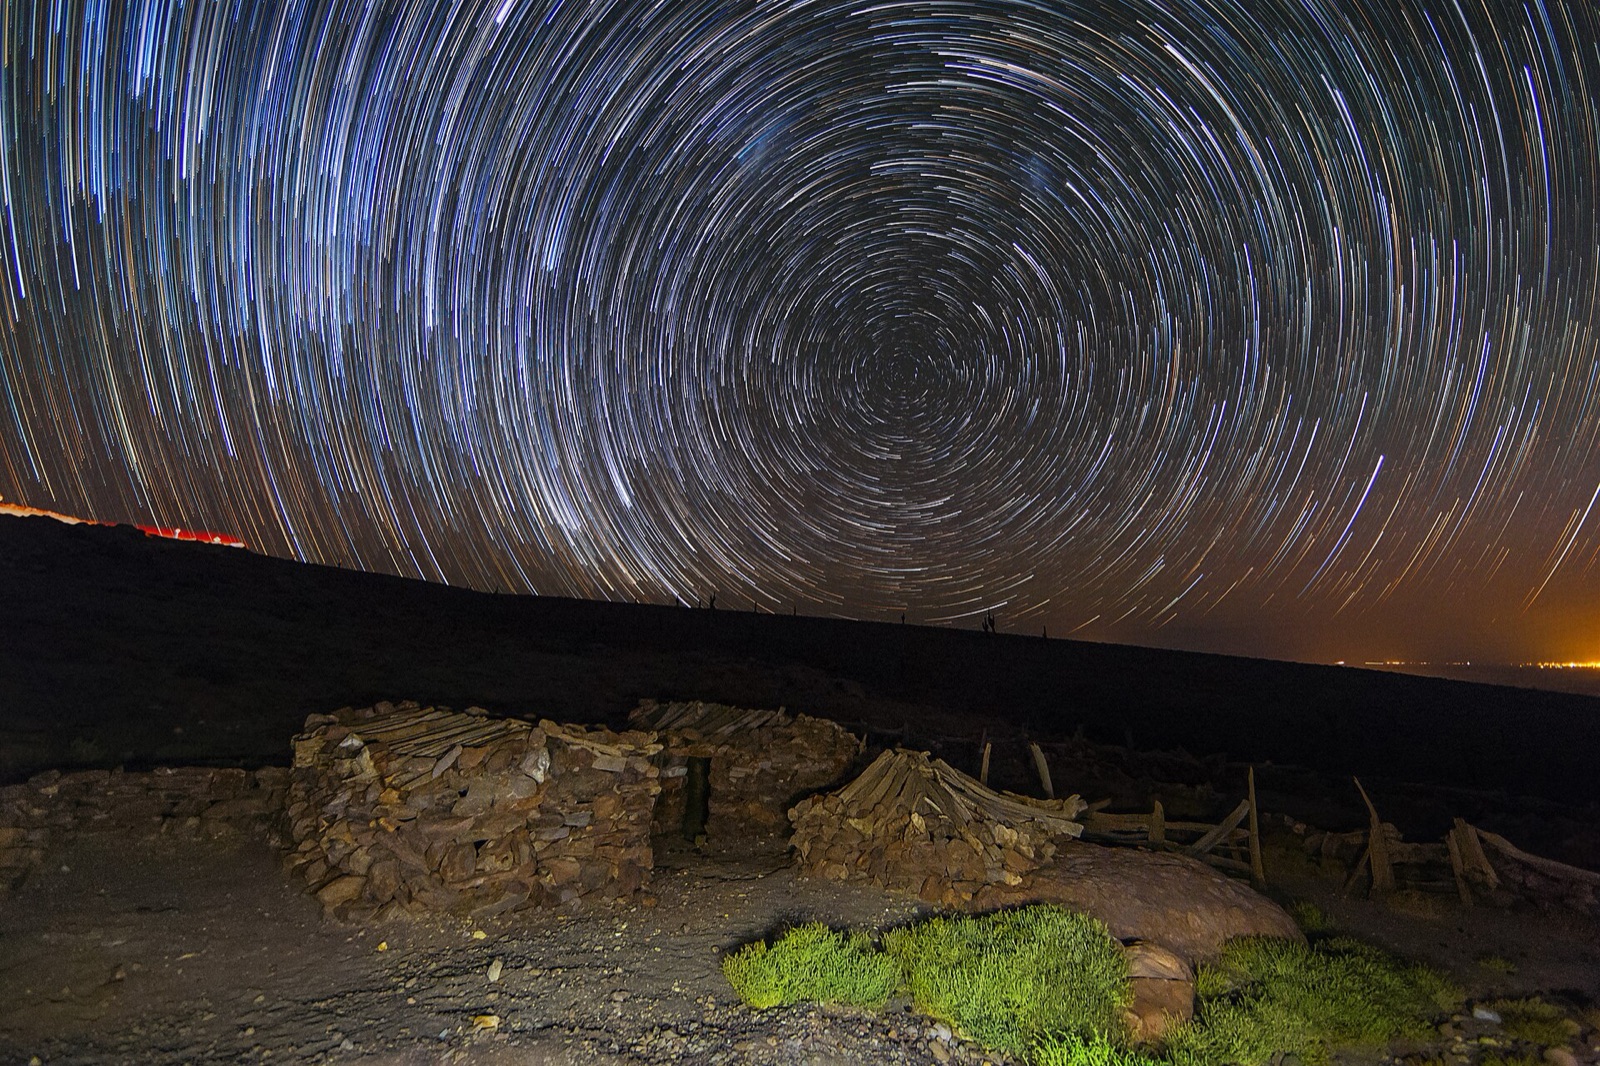
The sky turns 15° an hour around the celestial pole. Over a four-hour session every star draws a 60° arc centred on that pole. If you frame the pole you get concentric circles. If you frame east or west you get long curves, and if you frame the celestial equator the trails run nearly straight. The colours in good star-trail images are real, blue-white for hot stars and orange for cool ones, and they show best at moderate ISO.

.jpg)
Framing star trails: circles, arcs or straight lines
- Concentric circles: point at the celestial pole. In the northern hemisphere that's Polaris, at an altitude equal to your latitude. In the south there's no bright pole star. The pole is on a line from the Southern Cross, about 4.5 cross-lengths past its long axis. The usual composition puts the pole a third of the way into the frame, with a strong foreground below it.
- Arcs: point east or west and the trails bow away from the pole, rising on the east side and setting on the west. Wider lenses and longer sessions give more dramatic arcs.
- Straight lines: point at the celestial equator (due east or west at the horizon, climbing to an altitude of 90° minus your latitude in the south for northern observers).
.jpg)
In the Still Dark 360° sky, search "Polaris" and the view slews to it. The direction and altitude readout tells you exactly where to point. The planner's timeline shows when the Moon sets and when astronomical darkness starts, so you can work out how long the session can be before you leave the house.
Planning a star trails night
- Moon: a crescent or half Moon that sets early is ideal, and a full Moon washes out the sky. A little moonlight on the landscape helps, because it lights the foreground for you.
- Sky: a dark site helps, but with star trails photography you can get away with more light pollution than with the Milky Way, because the trails build up over many frames. Twenty to fifty percent cloud can even work, since passing clouds add texture, as long as the pole stays clear.
- Length: decide how long the trails should be and work back. 1 hour gives 15° arcs, 2 hours 30°, 4 hours 60°.
- Arrive early. Frame and focus with the last light. You can't re-frame a trail session halfway through.
- Weather and dew: check humidity and the dew point spread. A small spread means the lens will fog within the hour without a heater.
What gear you need for a four-hour session
- Wide lens, 14–24 mm on full frame, f/2.8–f/4. Sharp corners matter more than a fast aperture here.
- A tripod that will stay put for four hours, with your bag hung from it for stability, on ground that won't shift.
- An intervalometer (built-in or cable) that can run an unlimited sequence.
- Power: five or six batteries, a USB power bank, or a dummy battery on mains.
- A lens warmer or hand-warmers strapped to the barrel. You need one in humid climates.
- Big cards. Four hundred RAW frames is 10–20 GB.
Our cold-weather kit guide has more on keeping batteries and fingers working through a long night.
Star trails camera settings for stacking
- Manual, RAW, long-exposure noise reduction OFF. LENR closes the shutter for as long as each exposure, leaving a gap in every trail.
- Electronic or electronic-first-curtain shutter if you have it, to save the mechanical shutter 500 actuations and avoid vibration.
- Aperture f/2.8–f/4, or a third of a stop from wide open for cleaner corners.
- ISO 800–1600. This is lower than for the Milky Way, because you're building up light over many frames, and lower ISO keeps the star colours.
- Shutter 30–60 s. Longer frames mean fewer gaps and fewer files. With shorter frames you lose less when a car or plane passes.
- Interval = shutter + 1 second. The gap is where the trails break, so keep it as short as you can.
- White balance fixed, around 3800–4200 K.
- Frames: 100–500, two to four hours. Take one test frame, check the histogram sits off the left edge, then start and don't touch anything. You can't redo the sequence, so leave the camera alone until it finishes.
The alternative: one long exposure
Film-era star trails were single exposures of an hour or more. On a digital camera it still works, 3–4 minutes at ISO 600–800 in Bulb with long-exposure noise reduction ON, for short trails without gaps. The drawbacks are that sensor heat noise builds, a single plane ruins the frame, and you can't recover the shot if something goes wrong. Use it for short trails without gaps, and stack for anything longer.
Shoot the foreground separately
The first frame, taken while there's still a trace of twilight, or a frame lit by a few seconds of a torch at low power, gives you a clean foreground to blend under the trails. Take it before the sequence starts, from the same tripod position, at a lower ISO.
Stacking star trails: StarStaX, Sequator or Photoshop
- StarStaX (free): drag the frames in, choose the Lighten blend, enable gap filling, export. Its "comet mode" fades each trail from bright to dim, which looks like motion.
- Sequator (free, Windows): the same, with better foreground handling.
- Photoshop: load the frames as layers, set all but the bottom to Lighten, flatten. It's slow with hundreds of frames, but you control every step.
.jpg)
Process the RAW frames identically first (white balance, a little contrast, noise reduction) and export JPEG or TIFF for stacking. Before you stack, remove any frame with a car headlight or a torch across the foreground. With a Lighten blend, one bad frame stays in the final image.
Common mistakes
- Touching the tripod to check the screen. Every nudge puts a kink in every trail.
- LENR left on, producing dashed trails.
- Dew at hour two, softening everything after.
- Too much ISO, burning the star colours out to white.
- Running out of power at 80% of the planned session.
- Framing at the pole with nothing in the foreground. The circles need something below them.
FAQ
How long should a star trails exposure be?
For stacking, 30–60 seconds per frame, repeated for 1–4 hours. The trail length comes from the total session time, 15° of arc per hour, not from any single frame.
Why do my star trails have gaps?
Either long-exposure noise reduction was on (the camera pauses after each frame) or the interval between frames was too long. Turn LENR off and set the interval to one second more than the shutter, then enable gap filling when you stack.
Where do I point the camera for circular star trails?
At the celestial pole. In the northern hemisphere that's Polaris, due north at an altitude equal to your latitude. In the southern hemisphere no bright star marks it, so extend the long axis of the Southern Cross about 4.5 times its length. The 360° sky in the app will show you.
Can I do star trails photography in a city?
Yes, with a shorter session, lower ISO and a foreground that makes the sky glow part of the picture. The brightest stars still trail well against an orange sky.
Sources and further reading
- Capture the Atlas — Star Trails Photography Guide (settings, planning, stacking software).
- Dave Morrow — Star Trails Photography in 7 Steps (single-exposure method, power planning).