Technique
How to Shoot a Night Sky Timelapse: Intervals, Settings and the Holy Grail Day-to-Night
A night sky timelapse is several hundred Milky Way photographs played back as video. The night sky timelapse settings are the same ones you use for a single frame. The difference is that the camera runs unattended for hours. The framing has to work the whole time the sky rotates through it, and the battery, the card and the front element all have to last until the sequence ends. This guide covers how to work out frames and intervals, the settings, the power and dew problems that stop most first attempts at two in the morning, and the sunset-to-night "holy grail".
At a glance
- Settings: the same as for one Milky Way frame. f/2.8, 10–25 s by the NPF rule, ISO 3200–6400, manual focus, fixed white balance, RAW. Nothing on auto.
- Interval: exposure plus 1–3 s. Star fields 20–30 s. Clouds, aurora and the Moon 2–8 s.
- Frames: clip seconds × frame rate. A 10 s clip at 24 fps is 240 frames, which is 80 minutes at a 20 s interval.
- Power and storage: a battery lasts 2–4 hours, and 1,000 RAW frames is about 30 GB. Use USB-C power and a big card.
- Afterwards: grade one frame, sync to all, deflicker, render at 24–30 fps.
How many frames you need
Video plays at 24, 25 or 30 frames per second and each frame is one photograph. So the number of frames you need is the clip length in seconds times the frame rate. A 10 s clip at 24 fps is 240 frames. Multiply that by the interval to get the shooting time. At 20 s, 240 frames take 4,800 s, or 80 minutes.
| Interval | 10 s clip (240 frames) | 20 s clip (480 frames) | 30 s clip (720 frames) |
|---|---|---|---|
| 2 s | 8 min | 16 min | 24 min |
| 5 s | 20 min | 40 min | 60 min |
| 10 s | 40 min | 80 min | 2 h |
| 20 s | 80 min | 2 h 40 min | 4 h |
| 30 s | 2 h | 4 h | 6 h |
The table shows shooting time at 24 fps. It also helps to know the speed-up, which is interval × frame rate. A 15 s interval at 24 fps plays 360 times faster than real life, and a 25 s interval plays 600 times faster. The sky turns 15° an hour (15.04°, one rotation per sidereal day of 23 h 56 min), so a 90° sweep of the Milky Way across the frame takes 6 hours of real time. That's 864 frames at 25 s, or 36 s of video. The sky moves slowly, and you only see it move in the clip because the interval speeds it up.
Choosing the timelapse interval
The interval runs from the start of one exposure to the start of the next. Take the exposure and add 1–3 s for the camera to write the file and re-arm. If the gap is too short the camera skips frames and the stars jump. Then choose the interval for the subject:
- Star fields, the Milky Way: 20–30 s. A 20 s exposure at a 22 s interval.
- Clouds under stars, aurora: 2–8 s. At a 25 s interval both strobe, so use 2–6 s exposures, a higher ISO and a one-second gap.
- Moonrise, moonset: 2–5 s. At 200 mm the Moon crosses its own diameter every two minutes, and it's bright enough for short frames.
- ISS pass: back-to-back frames, because the pass only lasts four to six minutes (see the ISS guide).
The dragging-shutter look. When the exposure fills most of the interval (20 s of 22) each frame records nearly all the motion that happened, and stars, clouds and aurora move smoothly. When it's a small fraction, say 1 s every 20 s, the camera records only 5% of the time and the clip stutters. You won't have this problem if you keep the gap to 1–3 s.
Night sky timelapse settings
One frame is an ordinary Milky Way exposure: f/2.8 or wider, shutter from the NPF rule (about 11 s at 24 mm f/2.8 on a 24 MP full frame, 15–20 s at 14 mm), ISO 3200–6400 with the sky's histogram peak a quarter to a third of the way in. The reasoning is in the ISO and exposure guide. Then turn off everything automatic, because any setting the camera changes between frames shows up as flicker:
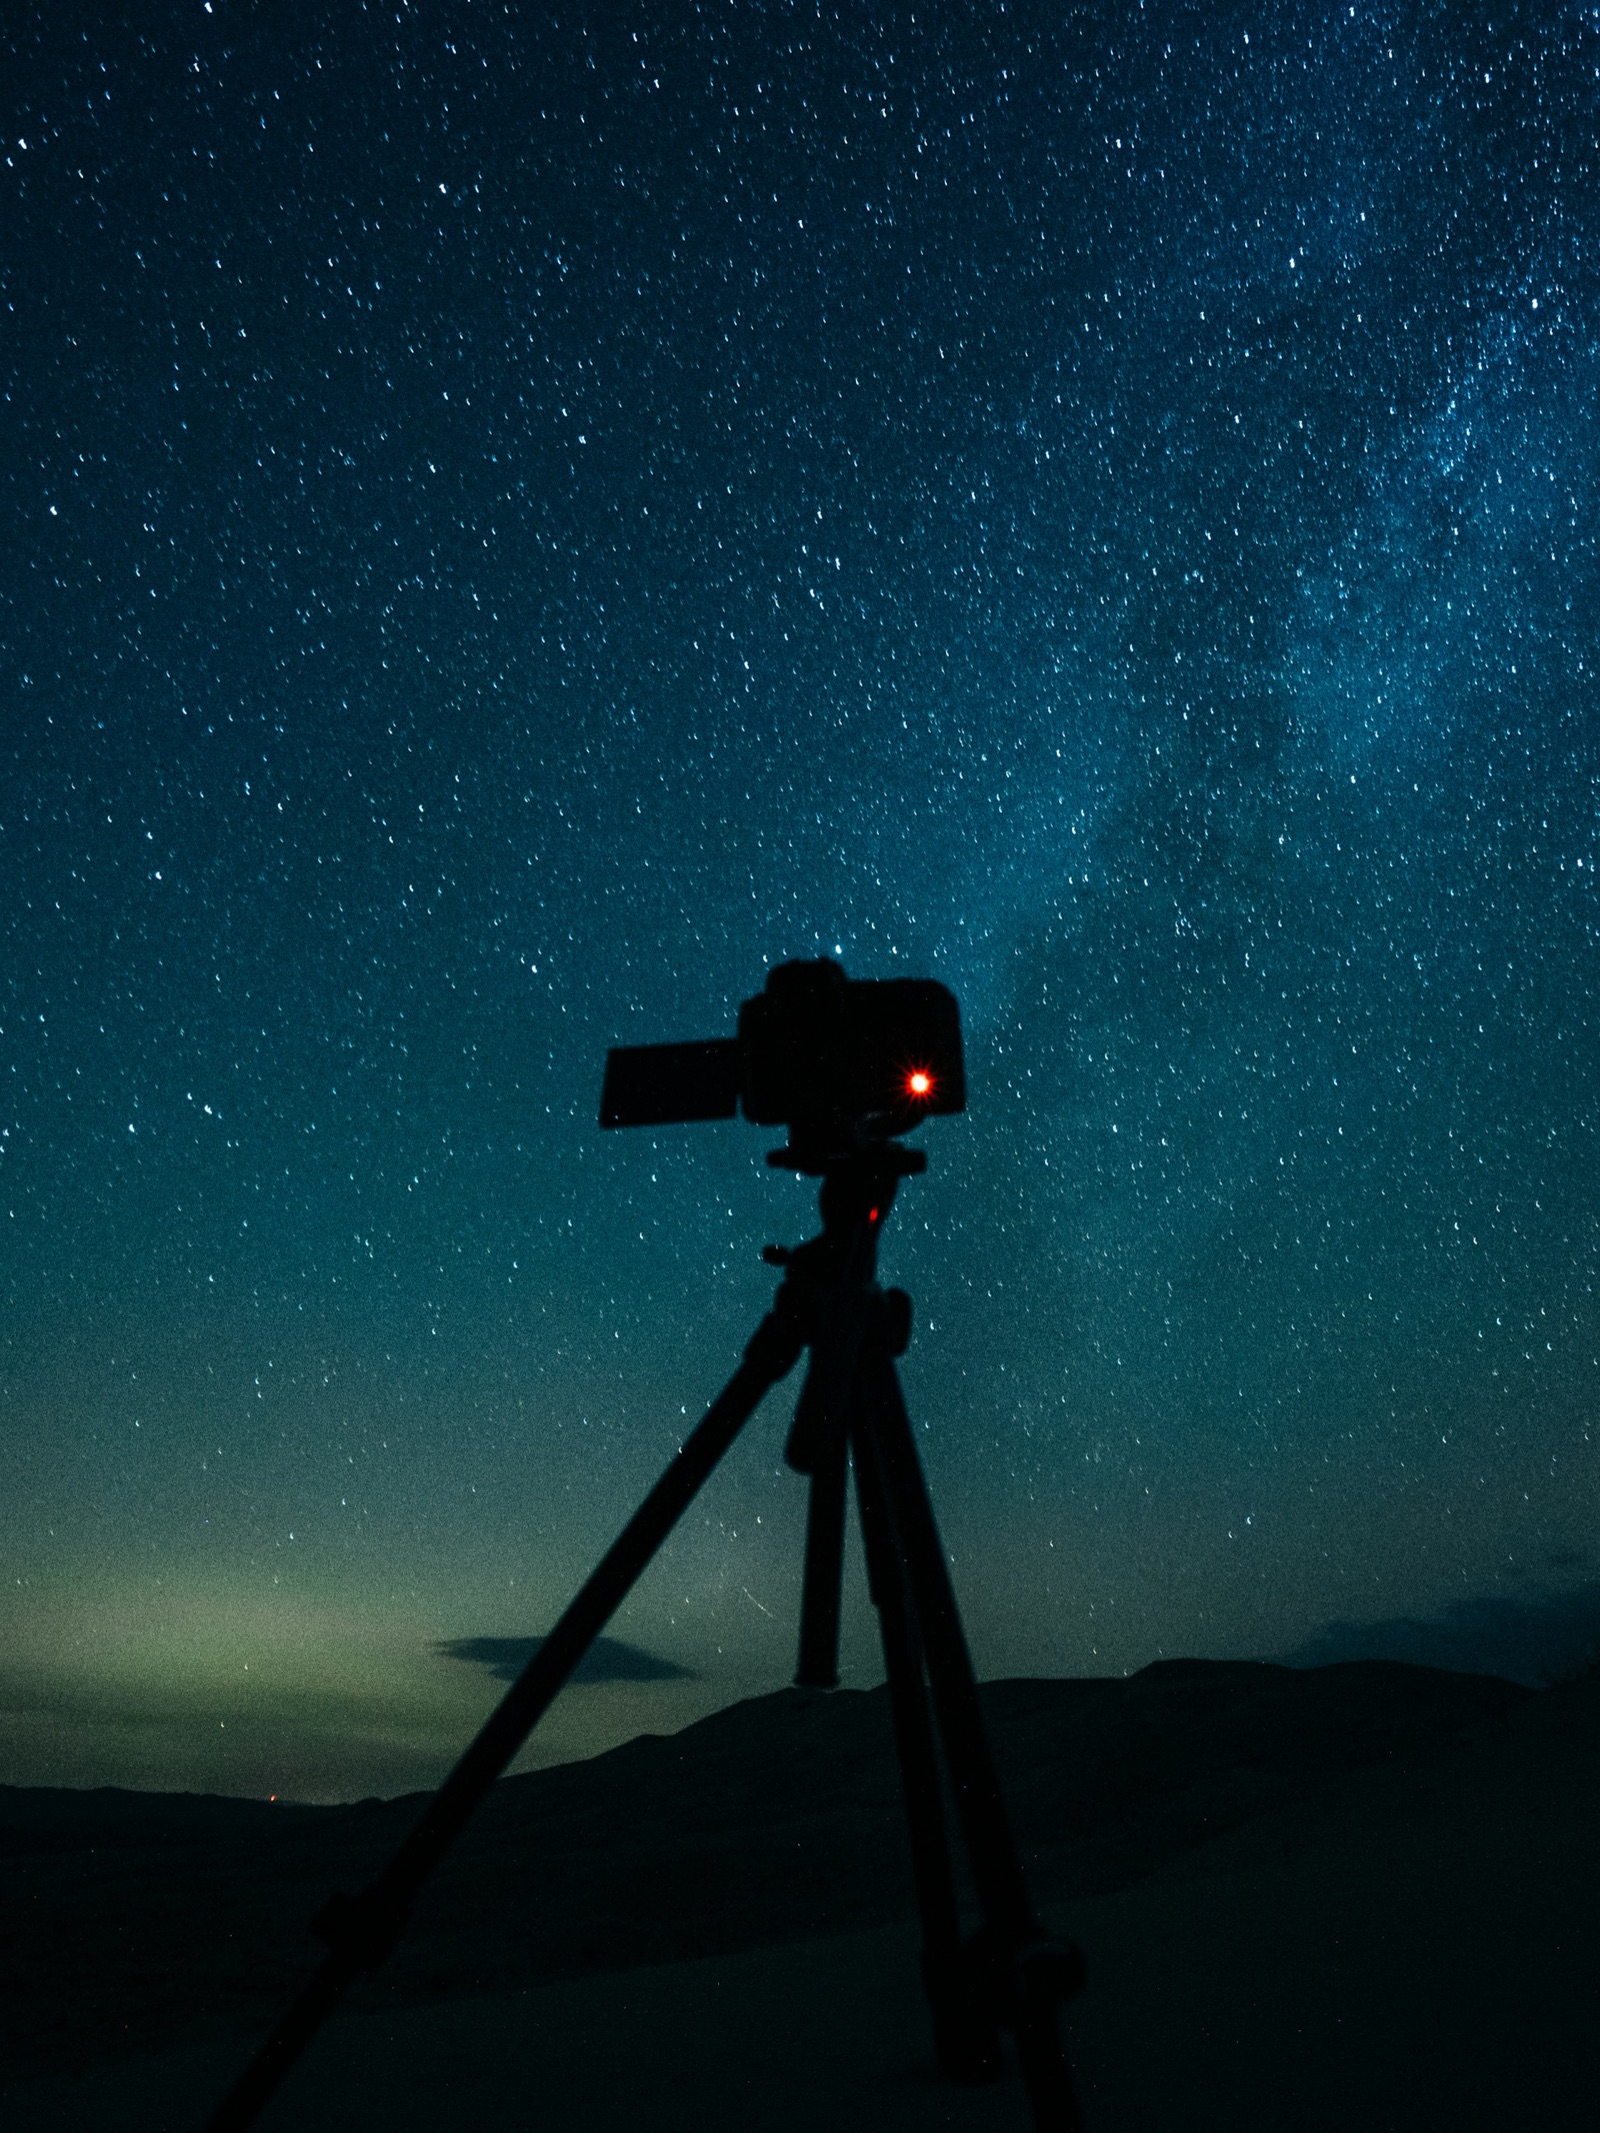
- Manual exposure, with no auto ISO.
- Manual focus on a bright star at 100%, then taped. Turn autofocus off at the lens too. The tape is there in case a strap knocks the ring at 2 am.
- White balance fixed at 3800–4200 K. Auto WB drifts as the sky changes.
- Long-exposure noise reduction off. It doubles each exposure with a dark frame and halves your frame count.
- Image stabilisation off, body and lens.
- RAW, or RAW+JPEG for a quick field render. You need RAW for the holy grail and for deflickering.
- Aperture wide open, which avoids the aperture-flicker problem below.
Power, storage and dew
Battery. A mirrorless body running continuous long exposures lasts roughly 2–4 hours on one battery, nearer 1–2 on a cold night, and swapping it stops the sequence and moves the camera. Use USB-C power delivery from a power bank if the body accepts it while shooting, or a dummy battery on a DC cable to a lithium pack. Either one will run all night.
Card. A 24 MP RAW is typically 25–35 MB, and 45 MP bodies write 45–60 MB. A 1,000-frame night at 30 MB is 30 GB.
| Frames | 24 MP RAW (~25 MB) | 45 MP RAW (~50 MB) | Time at a 20 s interval |
|---|---|---|---|
| 500 | 12.5 GB | 25 GB | 2 h 47 min, the limit of one battery |
| 1,000 | 25 GB | 50 GB | 5 h 33 min, needs external power |
| 2,000 | 50 GB | 100 GB | 11 h, needs external power and a 128 GB+ card |
Dew. A lens pointed at a clear sky radiates heat into space and gets very little back, so the front element cools several degrees below the surrounding air. Once it drops below the dew point, water condenses on it and the last hour of the sequence comes out soft and foggy. To stop it, keep the lens a few degrees warmer with a dew heater band on the lens barrel, run from a USB power bank, or with chemical hand warmers taped around the lens hood. Check the dew point in the forecast. If the air temperature is going to fall close to it overnight, the lens will reach the dew point before the air does. Batteries, dew and staying warm yourself are covered in the cold-weather kit guide.
The Weather card in Still Dark gives the hourly forecast for your spot, with low, mid and high cloud separately, observing conditions and the dew point, so you can pick a cloud-free window long enough for the sequence and see whether the lens will dew up in the small hours.
Intervalometers
- The camera's interval timer. Most current bodies have one. Check whether it counts from the start or the end of an exposure, and whether it caps the frame count.
- A wired intervalometer in the remote port. Cheap, unlimited frames, works in Bulb.
- An app driving the camera over Wi-Fi or USB, some of which ramp exposure. It uses phone battery and depends on the connection.
The holy grail timelapse: sunset to night
Between a sunlit landscape and a starlit one the exposure changes by about 15 stops, so the settings have to ramp while the sequence runs, and every change can show as a jump in brightness. There are three ways to do it:
- Manual ramping. Start at a daylight exposure. Each time the meter reads a third of a stop under, lengthen the shutter by a third. Once it reaches the NPF limit, raise the ISO by thirds instead. Don't change anything more often than every 10 frames. Deflickering removes the steps afterwards. The drawback is that you have to stay at the camera all through twilight.
- Aperture priority with auto ISO through twilight: fixed aperture, exposure compensation for the sky, maximum shutter equal to the night exposure. Small changes in metering show up as flicker, which deflickering removes. Switch to full manual once the sky is dark.
- A ramping tool. LRTimelapse (Windows and Mac) reads the exposure metadata of every RAW, finds where the settings changed, and its Holy Grail wizard smooths the steps into one curve before deflickering the sequence in Lightroom Classic. Camera-control apps can also ramp the settings on the body as the light falls.
Keep the aperture fixed. An electronic lens stops down for every frame and the blades don't stop in exactly the same place each time, so the brightness flickers from frame to frame. Ramp with shutter and ISO only. A 6–12 s interval suits twilight, when the light changes fast, and the 20 s night frames still fill most of it.
Flicker: causes and fixes
- Aperture variance. Shoot wide open, use a manual aperture ring, or use the "lens twist" method, which disconnects the lens contacts with the aperture set.
- Auto white balance. It causes colour flicker. Set a Kelvin value instead.
- Auto exposure, and deliberate ramping steps. Shoot manual, then deflicker.
- In post: LRTimelapse deflickers on the RAW adjustments before rendering, and DaVinci Resolve's deflicker effect has a timelapse mode for a rendered clip.
Motion: still, pan or slide
Start with a static tripod. A steady foreground under a rotating sky is the effect you're after, and we'd choose it over a slider nine times out of ten. A slider or motorised pan head adds parallax by moving the camera a few inches or degrees over the night so the foreground shifts against the stars. Motion-control units work shoot-move-shoot, which means the move happens in the gap between exposures. That's another reason to leave a gap. A 360° pan over a night needs a controller programmed for 800 steps across 6 hours. A slow drift of a few degrees looks better than a fast sweep.
Rendering
- Grade one frame in Lightroom Classic or your RAW editor and sync the settings to all. For a holy grail, go through LRTimelapse so the grade follows the ramp.
- Export JPEGs numbered in sequence, at least 3840 px wide for 4K. A 24 MP frame is 6000 × 4000, which leaves room for a crop or a slow digital pan.
- Assemble. LRTimelapse renders directly. Otherwise ffmpeg does it in one line,
ffmpeg -framerate 24 -i frame_%04d.jpg -c:v libx264 -crf 18 -pix_fmt yuv420p out.mp4, or import the image sequence as a clip in DaVinci Resolve (free, Mac/Windows/Linux) or After Effects. - Frame rate 24 or 25 fps for a film look, 30 for the web. Below 24 looks jerky.
A shot list
- The Milky Way arch rising in the east in spring: wide lens, 25 s interval, 4–6 hours.
- The core crossing a landmark, lined up in the Planner beforehand.
- Star trails as video: render with a cumulative Lighten blend so the trails grow frame by frame (the stills version is in the star trails guide).
- Aurora: 2–6 s exposures, 1 s gap, high ISO (more in the aurora guide).
- Moonrise: telephoto, 2–5 s interval, exposed for the disc.
- An ISS pass: 5–10 s frames back to back for six minutes.
- Sunset to night: the holy grail.
- Clouds under stars: 4–8 s interval on a night of broken cloud.
Planning the sequence
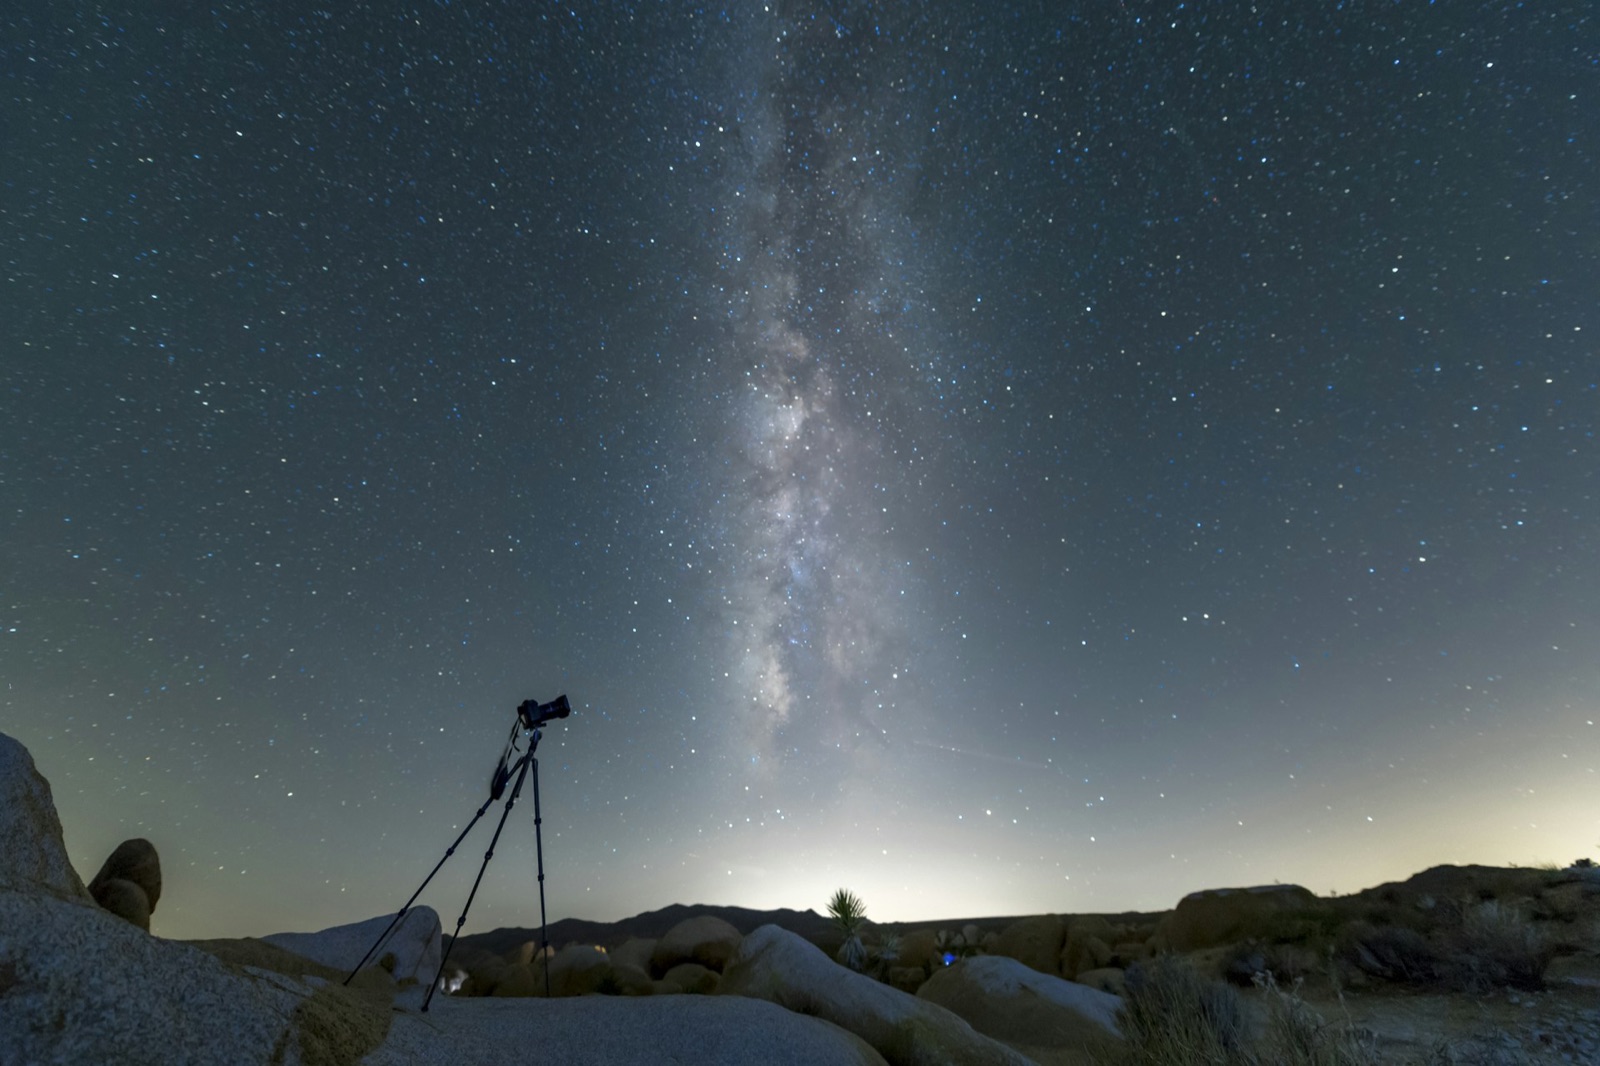
A single frame only has to work for one moment, but a sequence has to work for four hours. Before you commit to the framing, find out where the core, the Moon and anything else will be at the end, not just at the start. The core swings south-west at 15° an hour, so a composition that's balanced at 22:00 isn't balanced any more by 01:00. If the Moon rises at 02:00 during a Milky Way sequence, the sky gets bright within twenty minutes.
In the 360° sky, point the view where the camera will point and drag the time forward hour by hour. The core, the Moon and any ISS pass move to where they'll be, with altitude and azimuth shown, so you can see whether the framing still works at the end of the sequence. The Planner draws Sun and Moon direction lines on the map with altitude curves on the timeline, and its camera overlay shows your lens's field of view, so a core-behind-the-landmark shot can be lined up from the right spot before dark.
Night sky timelapse on an iPhone
The iPhone Camera app's Time-lapse mode chooses its own interval and shrinks any recording to 20–40 s. On iPhone 12 and later it switches to a Night mode Time-lapse in dim light, which is good for light trails but gives no control of exposure or interval, and it won't record a star field. Use a manual app that stacks, as described in the iPhone astrophotography guide. The apps that stack 1 s frames into a Milky Way still can save the stacks in sequence, and NightCap has an aurora time-lapse mode. You need a tripod, a power bank and locked focus. The video will have the same noise and muted colour as the stills.
Common mistakes
- Interval shorter than exposure plus write time. Frames drop and the stars jump.
- Touching the camera to check a frame. Review only at the end.
- Auto white balance, auto ISO or a stopped-down electronic aperture. All of these cause flicker.
- The battery dying at 2 am, two-thirds of the way through the arch.
- The card filling. 1,000 RAWs is 30 GB, so start with an empty card.
- Dew at 1 am. Fit the heater band or hand warmers at the start. Don't wait until the frames go soft.
- A headlamp swung across the lens mid-frame, which shows as a flash in the clip.
- Long-exposure noise reduction left on, halving the frame count.
FAQ
What interval should I use for a Milky Way timelapse?
Use the exposure plus 1–3 s, which is typically a 20 s frame at a 22–25 s interval. The stars move 15° an hour, so a 90° sweep, six hours of shooting, becomes about 36 s of video at 24 fps.
How many photos do I need for a 10-second timelapse?
Multiply the clip length by the frame rate. That's 240 at 24 fps, 250 at 25, 300 at 30. At a 20 s interval, 240 frames take 80 minutes.
What are the best night sky timelapse settings?
Set everything manually: f/2.8, 10–25 s by the NPF rule for your lens, ISO 3200–6400, white balance fixed near 4000 K, manual focus on a star, RAW, long-exposure noise reduction and stabilisation off.
Why does my timelapse flicker?
Something changed between frames: an electronic aperture stopping down slightly differently each time, auto white balance, auto exposure, or the steps of a manual ramp. Shoot wide open with everything manual, and deflicker in LRTimelapse or a video editor.
How long does a camera battery last shooting a timelapse at night?
Roughly 2–4 hours on a mirrorless body, 1–2 in the cold. For longer, power the camera by USB-C from a power bank, or with a dummy battery on a DC cable to a lithium pack.
Sources and further reading
- LRTimelapse — LRTimelapse (Windows and Mac; the Holy-Grail-Wizard; multi-pass visual deflicker).
- Matthew Vandeputte — The complete guide to shooting and editing a Holy Grail timelapse (about 15 stops of ramping, third-stop steps at least 10 frames apart, 6–12 s intervals).
- Alan Dyer, The Amazing Sky — Ten Tips for Taking Time-Lapses (1–2 s gaps at night, frame counts, batteries lasting 1–2 hours in winter).
- BBC Sky at Night Magazine — How to stop dew forming on your telescope (radiative cooling below the dew point; heater bands, hand warmers, dew shields).
- Wikipedia — Sidereal time (a sidereal day of 23 h 56 min 4 s, hence 15.04° per hour).
- MacRumors — How to shoot Night mode Time-lapse video on iPhone (dynamic intervals, 20–40 s output, tripod needed).