Deep sky
Star Trackers Explained: Long Exposures, Polar Alignment and Your First Deep-Sky Photos With a Camera Lens
On a fixed tripod you only get a few seconds before the stars start to trail. A star tracker removes that limit. It's a small motorised platform that turns the camera at the same rate as the sky, so a 135 mm lens can stay on the Andromeda Galaxy for three minutes and still record round stars. This is a guide to the star tracker for beginners. You can shoot deep-sky objects with the lenses you already own, and the only new skill is pointing the tracker's axis at the celestial pole.
At a glance
- What it does: turns once per sidereal day (23 h 56 min 04 s) to cancel Earth's rotation. Exposures go from 10–20 s to 1–4 min with a camera lens.
- Settings: f/2–2.8 stopped down a third of a stop, ISO 400–1600, 60–180 s subs, RAW, long-exposure noise reduction off, intervalometer, 30–60 frames.
- Alignment: rough (within a degree) is enough at 14–50 mm. At 135 mm and longer you need to be within a few arcminutes.
- First targets: the Milky Way core, Andromeda, the Pleiades, the Orion Nebula, the North America Nebula, the Double Cluster.
- Afterwards: stack with darks, flats and bias, then stretch, remove gradients and calibrate colour.
What a star tracker does, and what it doesn't
The stars appear to circle the celestial pole once every 23 hours 56 minutes and 4 seconds. That's the sidereal day, and it works out to about 15 arcseconds of sky per second of time. A tracker is an equatorial platform. It has one axis, tilted to point at the pole, and a motor that turns it at the sidereal rate. Once the axis is parallel to Earth's, the camera turns with the sky and the stars stay in the same place on the sensor. Portable trackers carry a camera and lens. Small equatorial mounts carry a telescope and add a second axis and GoTo pointing.
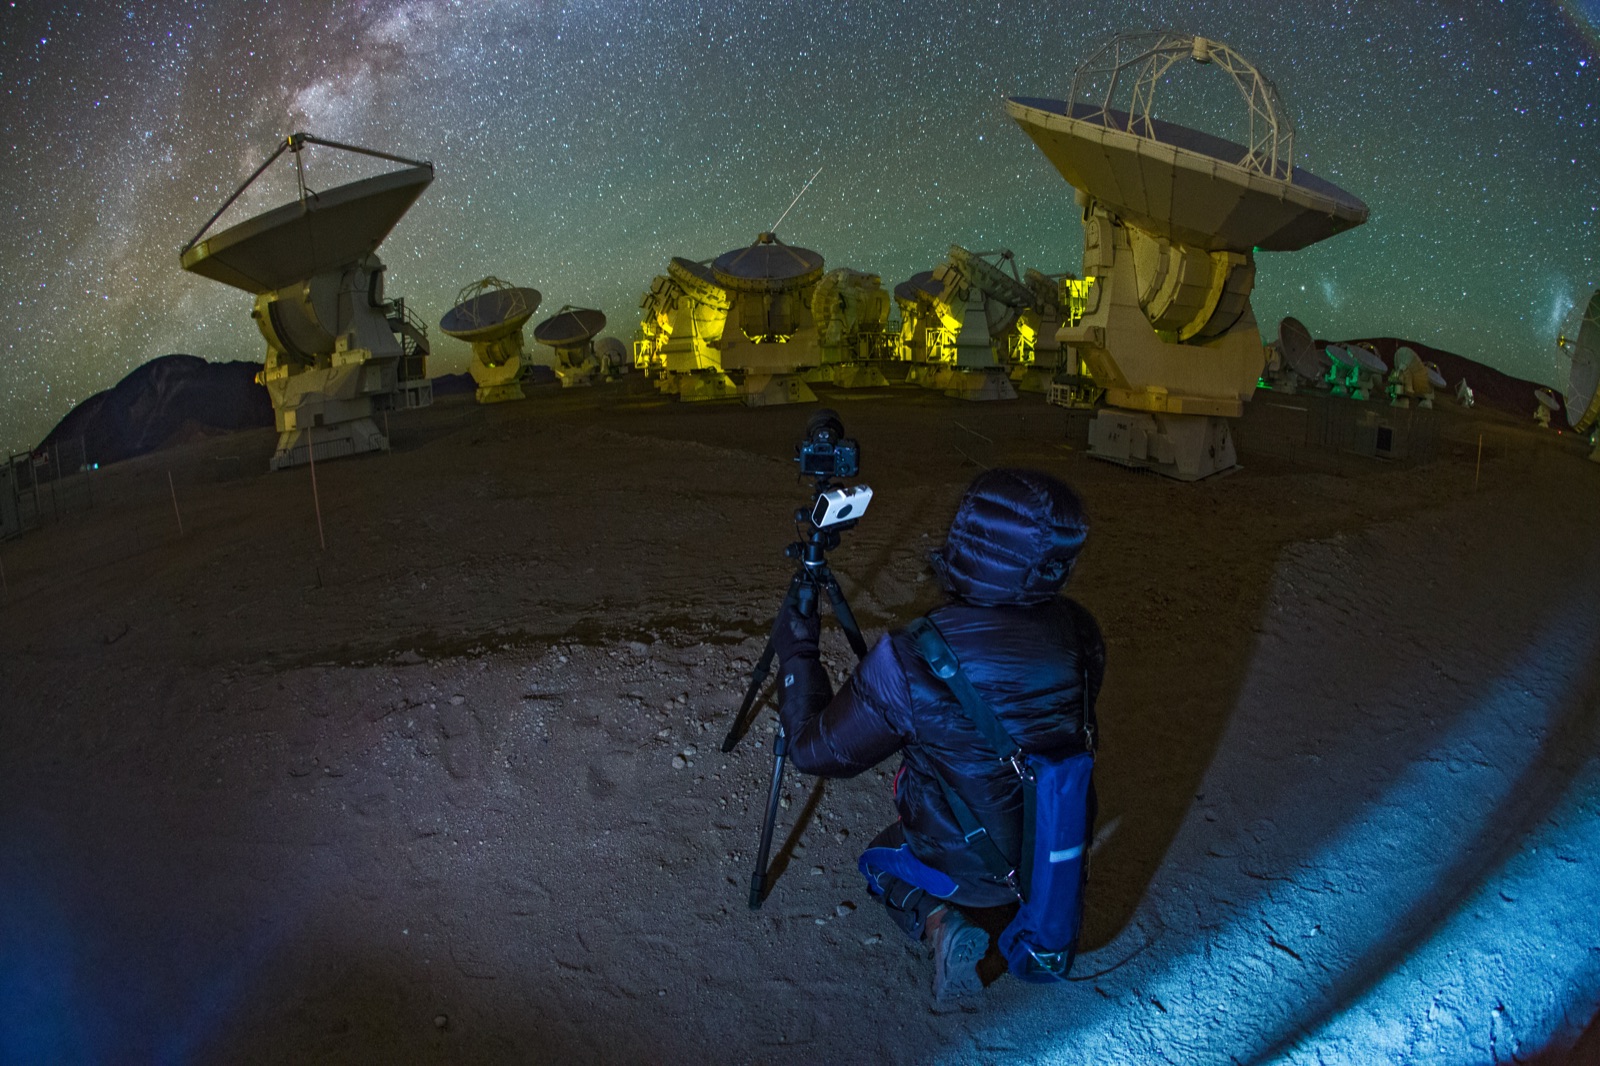
There are three things a tracker doesn't do. It doesn't keep the ground sharp. Any landscape, tree or building smears by the same amount the stars would have. It doesn't stop trailing from wind, an unbalanced load or a polar-alignment error. Those still trail the stars, only more slowly, and you see it first at long focal lengths. And it doesn't help with focus. A frame that's soft at 15 s is soft at 180 s too, so focus with live view at 100 % on a bright star before you touch the tracker.
What you gain, in numbers
Untracked at 24 mm you might shoot 15 s at f/2.8 and ISO 6400. Tracked, you get the same brightness from 120 s at ISO 800. That's eight times the exposure and three stops less gain. The signal in each frame is 8× larger and the read noise is unchanged, so shadows that were full of colour speckle come out smooth. Tracked frames are also worth stacking. Thirty 120 s frames make an hour of integration and sixty make two hours, and the noise falls with the square root of the frame count. The stacking and dark-frames guide explains why that works. A tracker helps because every frame that goes into the stack is much longer.
How to polar align a star tracker, step by step
The tracker only works if its rotation axis points at the celestial pole. Do the steps in this order. It takes five minutes once you've done it twice, and longer the first time.
- Level the tripod with the bubble on the tracker or wedge. If the base is tilted, changing the latitude also shifts the azimuth, and the other way round.
- Set the latitude. Tilt the wedge to your latitude. The scale on the side gets you within a degree.
- Aim the axis north (or south). Turn the whole tripod so the axis points at true north and look through the polar scope. Polaris should be in the field. If it isn't, check the latitude and the hemisphere setting.
- Put Polaris on the reticle. Polaris isn't exactly at the pole. It's about two-thirds of a degree away and circles it once a day. The polar scope reticle has a small circle at that radius marked like a clock face. A polar-alignment app gives the clock position for your time and place. Move Polaris there with the altitude and azimuth knobs, not by loosening the tripod.
- Lock everything and take a 60 s test frame. Check the corners at 100 %. If the stars are round, you're done.
How careful you need to be depends on the lens. At 14–50 mm, Polaris anywhere near the reticle centre, within about a degree, gives clean 2–4 min frames. At 135 mm each pixel covers a much smaller patch of sky, and the same error shows as trailing in under a minute. At that focal length, put Polaris on the clock position to within a few arcminutes. In the southern hemisphere there's no bright star near the pole. Sigma Octantis is magnitude 5.5 and about a degree off the pole, so most people use the polar scope's Octans pattern or a drift alignment. The Polaris and true north guide covers finding the pole from either hemisphere.
| Focal length | Rough alignment (±1°) | Good alignment (±5′) |
|---|---|---|
| 14–24 mm | 2–4 min | 4 min or more |
| 50 mm | 1–2 min | 3–4 min |
| 85 mm | 45–90 s | 2–3 min |
| 135 mm | 30–60 s | 3–5 min |
| 200–300 mm | Not reliable | 1–3 min |
| 400 mm and longer | Not reliable | Needs autoguiding for multi-minute subs |
These are rough figures. The limits you get depend on the tracker's periodic error, balance, wind and how much corner trailing you'll accept. Take a test frame on the night and shorten the exposure if the stars are egg-shaped.
In the 360° sky, search the target and drag the time forward to see its altitude through the night. The hours when it's above 30° are the ones to shoot, and its constellation tells you which lens frames it. Polaris and the celestial pole are in the same view, so you can see how high the pole sits from your latitude before setting the wedge.
Payload, balance and the tripod
Small trackers are rated for several pounds, and the rating assumes a balanced load. A full-frame body with a 135 mm f/2 is close to the practical limit. It works, but you have to balance it on the axis with the tracker's counterweight or declination bracket. If you don't, the motor strains against the weight of the lens and tracks less accurately. Anything longer or heavier always needs a counterweight bar. The tripod matters more than it does on a fixed setup, because any flex or gust of wind shows in a two-minute exposure. Use the sturdiest tripod you have, keep the centre column down and hang your bag from the hook. The lens guide has more on the tripod a heavy lens needs.
Star tracker settings for a camera lens
- Manual mode, RAW, long-exposure noise reduction off. Darks replace it, and it would halve your frame count.
- Aperture: stop down about a third of a stop from wide open, which is f/2 to f/2.8 for a fast prime. That cleans up the corner stars and colour fringing, and you lose very little light.
- ISO 400–1600. Tracked frames get their light from longer exposures, not from gain. Pick the ISO that puts the sky background in the left third of the histogram. 800 is a common starting point.
- Shutter 60–180 s per sub, depending on the table above and how bright the sky is. Under a Bortle 6 sky at f/2, 60 s may already push the background to the middle of the histogram. From a dark site 180 s is fine. The ISO and exposure guide shows how to read the histogram.
- Intervalometer: 30–60 frames with a 2–5 s gap.
- Dither. Every five to ten frames, move the framing a few pixels with the fine-adjust or a touch on the ball head. The stacker aligns on stars, so hot pixels and pattern noise land in different places and average out.
.jpg)
First targets with a star tracker for beginners
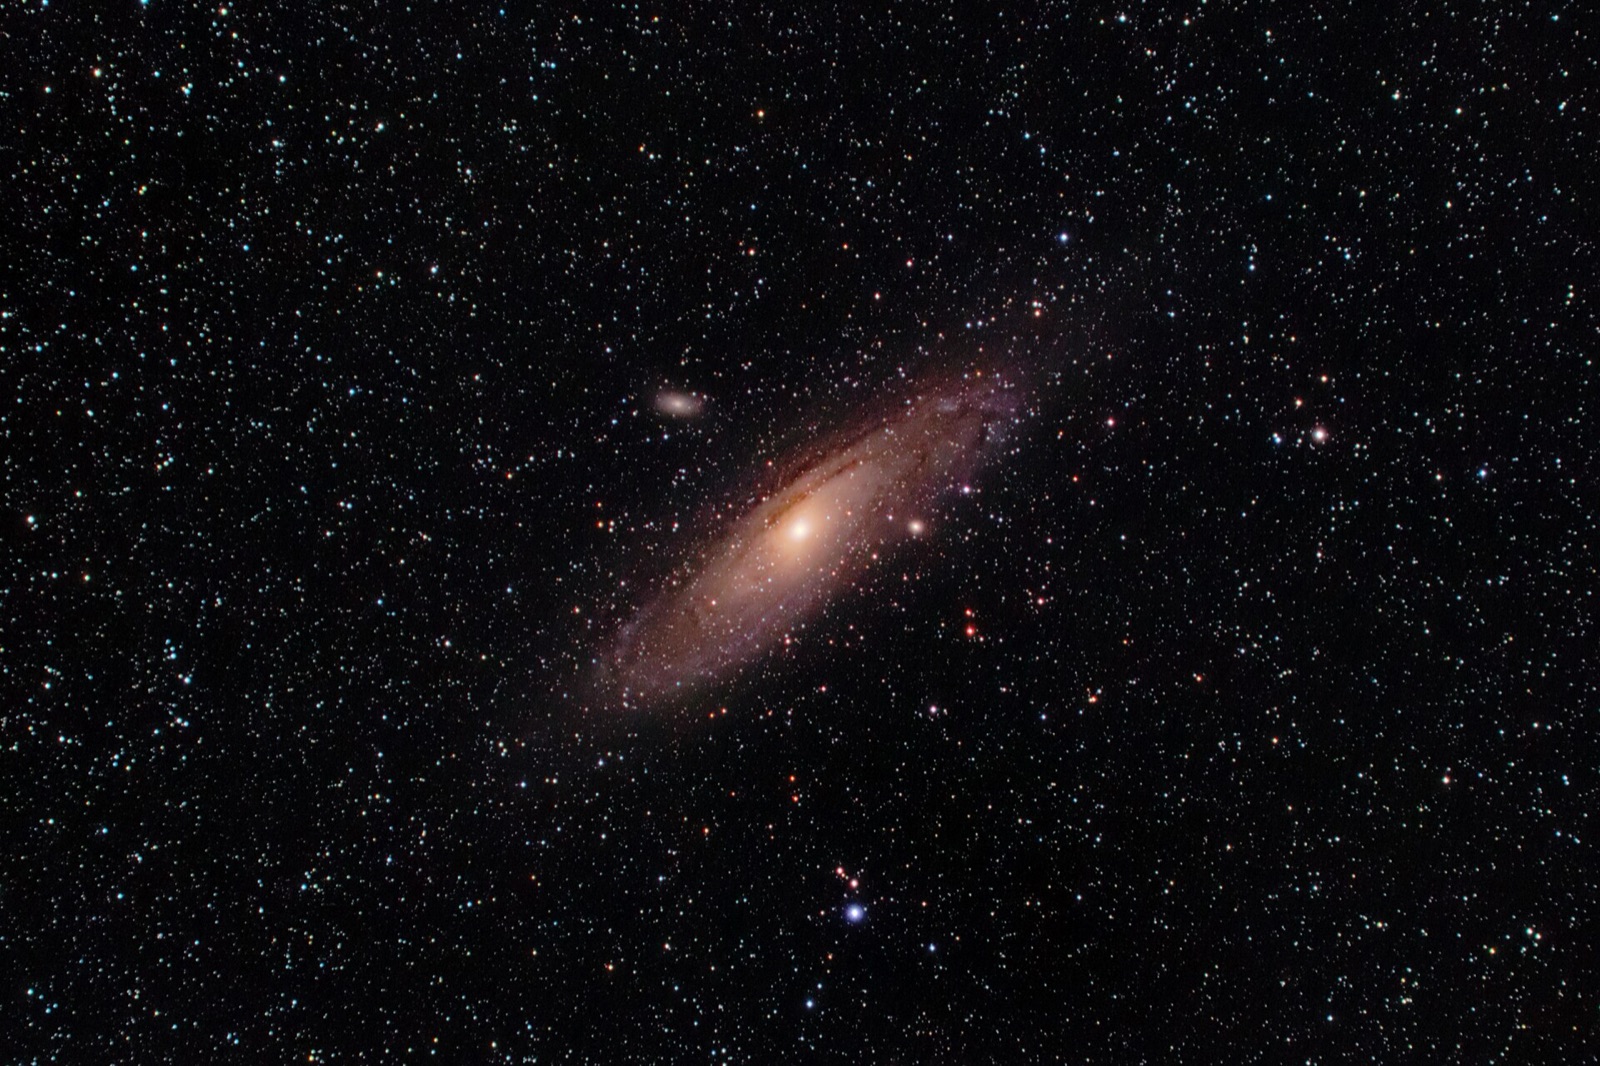
Deep-sky objects are larger than most people expect. Andromeda is about 3° long, which is six Moon widths, and the North America Nebula covers 2° × 1.7°. Choose a lens that fits the object.

| Lens | Targets | Season (northern evenings) |
|---|---|---|
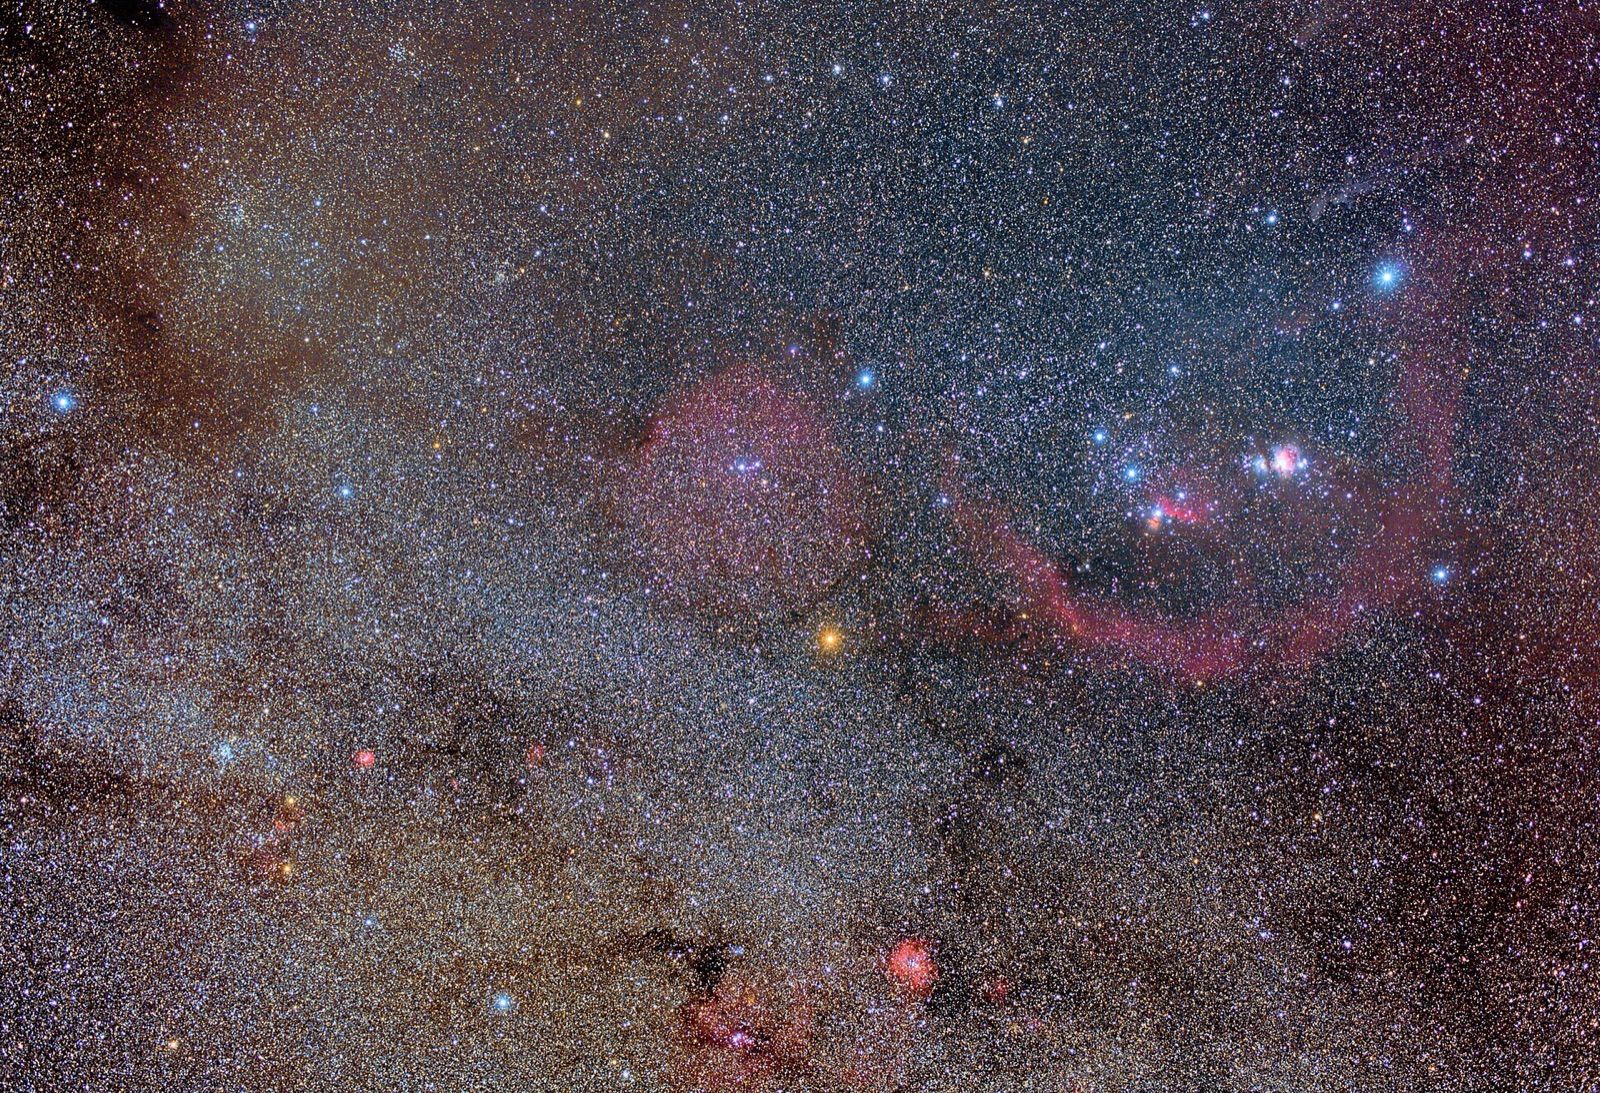
| 50–85 mm | The Milky Way core and its nebulae as a field, the Cygnus region, Orion's belt and sword together, Andromeda as an obvious smudge | Core: Jun–Sep. Cygnus: Jul–Oct. Orion: Dec–Mar. Andromeda: Sep–Jan |
| 135 mm | Andromeda spanning a fifth of the frame, the Pleiades with its blue reflection nebulosity, the Orion Nebula and the Horsehead region in one frame, the North America and Pelican nebulae, the Rosette, the Double Cluster | Pleiades and Orion: Nov–Mar. North America: Jul–Nov. Rosette: Dec–Mar. Double Cluster: Aug–Feb |
| 200–300 mm | Andromeda filling a crop-sensor frame, the Orion Nebula with the Running Man, the Lagoon and Trifid pair, the Veil with a dual-band filter under a town sky | Lagoon/Trifid: Jun–Aug. Veil: Jul–Oct |
Galaxies, star clusters and reflection nebulae record on any camera. Emission nebulae are different. Most of their light is in the hydrogen-alpha line at 656 nm, which is deep red. The infrared-blocking filter in every ordinary camera cuts that line to roughly a fifth of its strength, so the North America, Rosette and Veil nebulae come out faint and pink on a stock body. An astro-modified camera has that filter replaced and passes around 90 % of H-alpha, so the same targets record about four times brighter and properly red. You don't need one yet. A stock camera is fine for the first season. Orion and the Lagoon still show up, and Andromeda and the Pleiades don't need H-alpha at all.
Tracked landscapes, comets and the wide Milky Way
Tracking blurs the foreground, so nightscape photographers shoot two sequences from the same tripod position. They shoot a tracked set for the sky, then switch the tracker off and shoot a longer set for the ground, and blend the two along the horizon. Both parts show the same place at the same time, and most clean wide-field Milky Way images are now made this way. The Milky Way guide covers the untracked version. A tracker is also useful for comets. A bright comet at 135–200 mm takes 30–60 s subs. It moves against the stars, so keep the sequence short or stack on the comet and the stars separately.
Deep-sky frames need a dark, transparent sky. Best Milky Way nights lists the Moon-free windows for the coming weeks, and Weather shows the low, middle and high cloud layers by the hour with a transparency-style observing rating, so you can pick the night before you pack the tracker.
The next step: a small telescope
If you've shot at 300 mm and want the Orion Nebula bigger in the frame, the next step is a small apochromatic refractor of 300–500 mm focal length on a GoTo equatorial mount. The mount does the pointing, a small guide camera sends it corrections several times a second, and five-minute subs become normal. Polar alignment, balance, dithering and stacking all work the same way. The kit is heavier and you'll need a bigger bag.
Processing basics
- Calibration frames. 15–20 darks (same exposure, ISO and temperature, cap on), 20–30 flats (an evenly lit white surface, same focus and aperture), 30–50 bias frames (fastest shutter, cap on).
- Stack. DeepSkyStacker and Siril are free and built for this. Sequator handles a tracked sky and an untracked foreground in one pass. All three register on the stars and average the frames with outlier rejection.
- Stretch. A fresh stack looks nearly black. Small, repeated levels and curves adjustments bring up the nebula without clipping the stars. Take your time, because this step has the biggest effect on the final picture.
- Remove the gradient. Light pollution and moonlight leave a gradient across the frame. The background-extraction tool in Siril, or a plug-in in your editor, flattens it.
- Calibrate colour. Neutralise the background, then balance the stars so a Sun-like star is white (see the night-sky white balance guide). Star reduction, which shrinks the bright stars a little, is the last step, and it's easy to overdo.
Common mistakes
- Forgetting to switch the tracker on. Check the first frame for trailed stars.
- Wrong hemisphere setting, so the tracker turns the wrong way and trails are twice as long as untracked.
- An unbalanced load, especially a long lens pointing away from the counterweight.
- Polar aligning on the wrong star. Polaris is the end of the Little Dipper's handle, not the brightest star in the north.
- ISO too high for tracked subs. With a tracker you can expose for longer, so do that and keep the ISO down.
- Exposures so long the sky background clips under a Bortle 6 sky or brighter. Shorten the subs and shoot more of them.
- Not checking a 100 % crop after the first frame. You can't see corner trailing at fit-to-view.
FAQ
How long can I expose with a star tracker?
One to four minutes with a camera lens. That's 2–4 min at 24 mm with a rough alignment, 3–5 min at 135 mm with a good one, and 1–3 min at 200–300 mm. Beyond 400 mm, multi-minute frames need autoguiding.
Do I need a perfect polar alignment for a wide-angle lens?
No. At 14–50 mm, Polaris anywhere near the reticle centre, within a degree, is enough for 2–4 minute frames. You need to be precise from about 135 mm upwards.
What does a star tracker not fix?
Focus, wind, a wobbly tripod and an unbalanced load. It also blurs the ground, so landscapes need a separate untracked frame for the foreground.
Can I photograph nebulae with an unmodified camera?
Yes, with limits. Galaxies, clusters and reflection nebulae record normally. The stock infrared-blocking filter cuts hydrogen-alpha nebulae to roughly a fifth. Orion and the Lagoon still show, but the North America and Veil are much harder.
Which stacking software should a beginner start with?
Start with DeepSkyStacker or Siril for deep-sky stacks with darks, flats and bias. Use Sequator when the frame includes an untracked foreground.
Sources and further reading
- U.S. Naval Observatory — Sidereal Time (the sidereal day: 23 h 56 m 04 s of solar time).
- AstroBackyard — Easy Polar Alignment for Astrophotography (level, latitude, polar scope reticle, Polaris clock-position apps).
- AstroBackyard — Choosing a Star Tracker for Astrophotography (payload limits, counterweights, practical focal lengths and exposure times, autoguiding).
- BBC Sky at Night Magazine — How to polar align a star tracker mount (reticle orientation and Polaris position).
- Sky & Telescope — Shooting with Modified DSLR Cameras (stock filters pass under 20 % of H-alpha).
- Jerry Lodriguss, AstroPix — Using DeepSkyStacker (calibration with darks, flats and bias; stacking workflow). Siril: siril.org; Sequator: project page.